Ah Glorious Ghee. It’s like liquid gold! I adore it!
Growing up in the Middle East and South East Asia, I had been introduced to ghee at an early age. Spread over piping hot naan, or drizzled on Apam Balik. Lusciousness I tell you!
People who can’t eat dairy, can usually tolerate ghee!
When we first went dairy-free, I found giving up butter really difficult. Not just because it is in so many baking recipes, but because I just love the taste. I mean is there really a more delicious breakfast than poached eggs over a bed of mushrooms sauteed in butter?
It wasn’t until I was chatting with one of my Nutrition mentors a while ago, that they let me in on the secret – people who can’t eat dairy, can usually tolerate ghee! I was quick to point out that my daughter’s problem wasn’t just lactose intolerance, but that she was actually allergic to the casein (the protein content in all animal dairy). She couldn’t even manage with goat’s milk.
That’s when they told me the secret….
ghee, similar to clarified butter is only the fat portion of dairy. All of the carbohydrate (lactose) and protein (casein) have been removed. When you clarify the butter, all of the milk solids separate out, leaving nothing but the fat behind!
Admittedly I was skeptical.
We live out in the country, so I can’t buy ghee locally, so the next time we travelled up to Brisbane, I went to the Indian grocer and bought a huge tin. If it was okay and didn’t make her sick, I wanted a good supply! If it did make her sick, I figured I’d just work my way through the tin with my mushrooms.
When we first tried it out, I gave her the tiniest amount – I’m talking the size of a pin head. It was okay! We gradually built the amount up and lo and behold, it didn’t make her sick! Now this is a child that has spent the day in Emergency at our local hospital just from cross-contamination! I was stoked! And so was she!!
If it was okay and didn’t make her sick, I wanted a good supply!
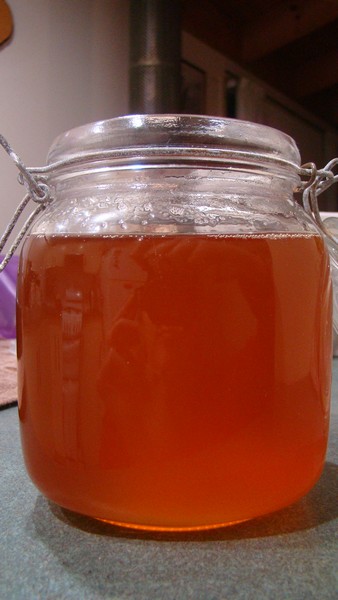
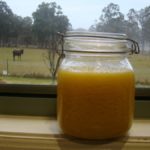
Once we had worked our way to the bottom of the tin, I figured I should have a go at making ghee as we wouldn’t be heading back to the city for a while and neither of us wanted to go without! I had clarified butter before for various recipes, so I knew how easy it was to make. Now, I make up a big batch whenever we need it and store it in a glass jar. It is beautiful – to look at and to eat! I usually do two 500g pats of butter at a time as it makes just enough to fill my jar. In the winter, I store it in the pantry, but in summer I keep it in the fridge (it gets up to 40 deg C here in summer).
When buying the butter, you want to check the label to make sure the ingredients are cream and water only. You don’t want any additives. I also buy unsalted butter as it concentrates down during the process and would most likely be too salty if you used regular butter. I do buy organic grass-fed butter too when I can as it has a healthier essential fatty acid profile than conventionally raised dairy.
I made some on Friday, so I thought I’d share the super simple process here with you today. Welcome back to the beautiful taste of butter!
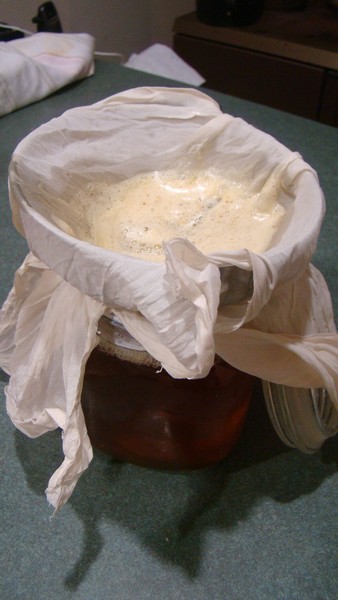
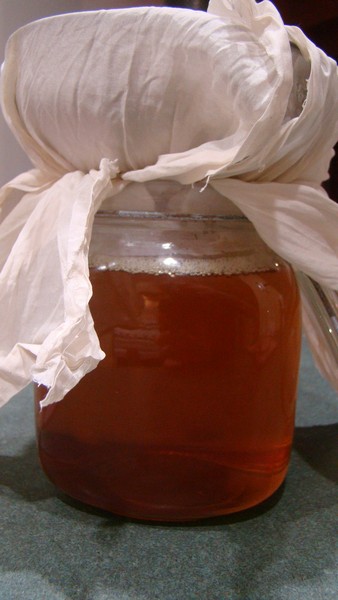
When straining the ghee, I ladle it into the lined funnel rather than trying to pour it straight from the pan – otherwise I seem to spill it everywhere.

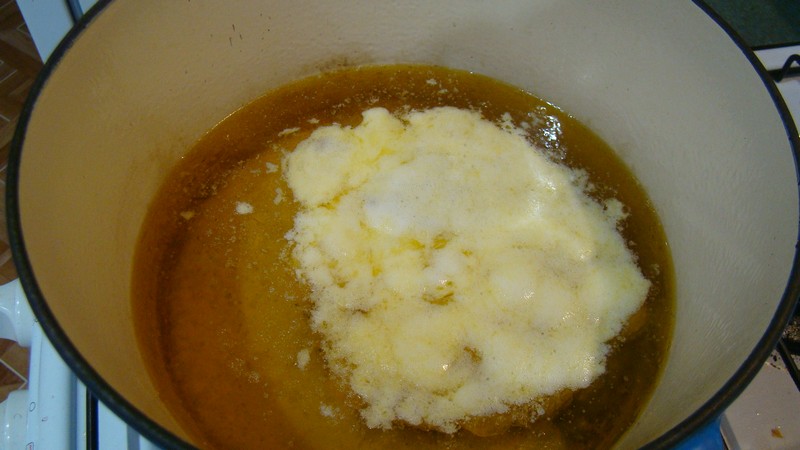
When you first start to melt the butter, you will get a lot of foam rising to the surface.

Gradually the foam will break up and the solids will begin to sink to the bottom of the pan.
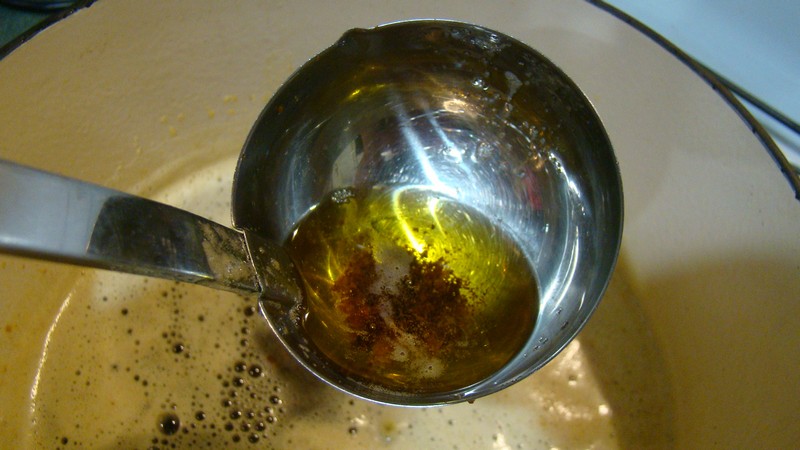
When the solids on the bottom of the pan have turned golden brown, the ghee is ready to strain.
Ghee
Ingredients
- 500 g unsalted butter organic, grass-fed if possible
Instructions
- Roughly dice the butter into large chunks
- Place the butter in a deep saucepan and place over low heat.
- Gently simmer for 30-60 minutes, stirring often, until the liquid is clear, the foam has subsided and all of the solids have browned and fallen to the bottom. Be careful to not let it burn!
- Strain the liquid through fine cloth into a heat-proof jar.
- Allow to cool before using. Be very careful with the entire process as it is very hot while molten!